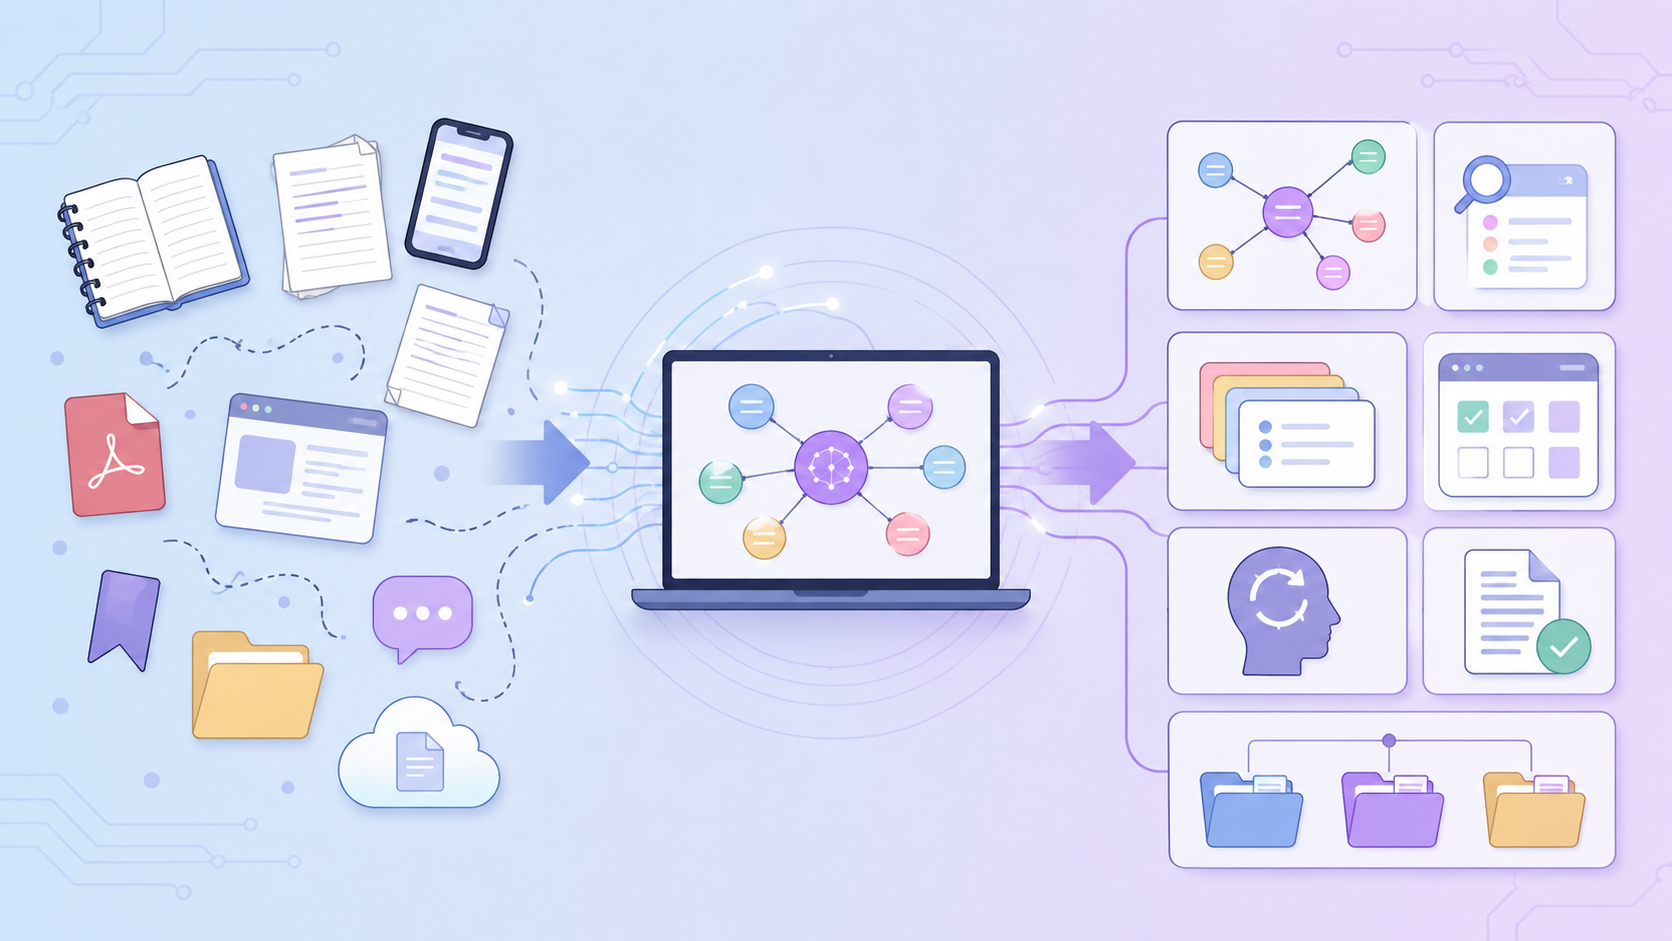


A university knowledge hub is a central place where a student can find, understand and reuse the learning that matters. It brings together lecture materials, reading notes, questions, feedback, revision resources and connections across modules. Unlike a storage folder, a knowledge hub is designed around use. It helps a student move from information to understanding and from understanding to action.
The idea may sound like a large technical project, but it can begin with one page and one module. The key is to build a system that fits real student behaviour: busy weeks, inconsistent energy, multiple formats and changing academic priorities.
What a personal knowledge hub should do?
A useful hub should support six actions:
1. Capture: save important material quickly.
2. Clarify: process it into understandable notes.
3. Connect: link related ideas, sources and modules.
4. Retrieve: find information and recall it from memory.
5. Create: use knowledge in essays, exams and projects.
6. Reflect: learn from feedback and study performance.
Many note systems do the first action and stop. Files are captured but never clarified or reused. The remaining five actions are what turn storage into knowledge management.
Step 1: Choose the scope of the hub
Start with a clear boundary. Your first hub might cover:
- one degree;
- one academic year;
- a dissertation;
- a professional qualification;
- a large interdisciplinary topic.
For most students, the degree is the most useful boundary. It allows knowledge to accumulate across years while keeping the system focused.
Create a home page with links to current modules, major topics, assessments, feedback, revision and future projects. This page should answer, “Where do I go next?” within a few seconds.
Step 2: Build the minimum structure
A practical starting structure is:
- Home
- Current modules
- Previous modules
- Topic hubs
- Sources and reading notes
- Assessments
- Feedback and development
- Revision questions
- Dissertation or project ideas
- Inbox to process
The inbox is important. Students need a fast place to save material when there is no time to organise it properly. The rule is that the inbox must be reviewed regularly; otherwise, it becomes another forgotten folder.
Avoid designing a complex structure based on every possible future need. Add new sections when repeated use proves they are necessary.
Step 3: Create a module dashboard
Each module should have a dashboard rather than only a file folder. Include:
- module code and title;
- lecturer and contact information;
- learning outcomes;
- assessment details and deadlines;
- weekly or topic links;
- reading list;
- key concepts;
- questions to ask;
- revision status;
- links to related modules;
- a final module summary.
This dashboard becomes the control centre for the module. It reduces the need to search through the university platform every time you study.
Step 4: Use source notes and synthesis notes
A source note records what a lecture, article, book or report says. A synthesis note records what you understand after comparing sources.
A reading note should include:
- full citation;
- research question or central argument;
- method and sample where relevant;
- main findings;
- limitations;
- useful quotations with page numbers;
- your interpretation;
- links to related concepts;
- possible assessment use.
A synthesis note might answer a broader question such as “Why do employees resist organisational change?” It should bring together several source notes, identify agreements and disagreements and state your current conclusion.
Keeping these note types distinct helps prevent accidental plagiarism and makes critical analysis easier. You can see which claims belong to a source and which are your own synthesis.
Step 5: Make relationships visible
Knowledge grows through relationships. A new idea is easier to understand when it can attach to something already known. Add links for:
- similarity;
- contrast;
- cause and effect;
- evidence and claim;
- theory and example;
- method and result;
- question and possible answer;
- feedback and future action.
You can also use concept maps for topics with many relationships. The Nesbit and Adesope meta-analysis found that concept and knowledge maps can support learning across different conditions. A more recent meta-analysis of concept maps and achievement found a positive overall impact. Mapping is most useful when the student constructs and explains the links rather than merely viewing a completed diagram.
Step 6: Add retrieval to every important topic
A knowledge hub can make students efficient at finding answers while leaving them unable to produce those answers independently. To avoid this, add retrieval questions to topic and module pages.
Examples include:
- Explain the theory without using its key terminology.
- Compare this model with its closest alternative.
- Draw the process from memory.
- Apply the concept to an unfamiliar case.
- Identify the strongest evidence and its limitation.
- Predict what would happen if one assumption changed.
The evidence for retrieval practice is strong. In test-enhanced learning research, practising recall improved delayed retention compared with repeated study. Work on the critical importance of retrieval further demonstrated that retrieving information is itself a learning event.
The hub should therefore contain both answers and reasons to close the answers.
Step 7: Integrate assessments
Create an assessment page as soon as a task is released. Include:
- the exact question;
- marking criteria;
- command words;
- deadlines and milestones;
- initial interpretation;
- relevant topic and source links;
- an evidence table;
- argument and counterargument;
- questions for the lecturer;
- final feedback and reflection.
Link existing knowledge into the assessment rather than rebuilding it in a separate folder. This approach helps you see whether your hub contains usable evidence or only broad summaries.
After submission, add the final work and feedback. Record what you would repeat and what you would change. This creates a learning loop between one assessment and the next.
Step 8: Build a feedback library
Feedback is one of the most underused forms of personal academic data. Create a central table or page with columns for:
- assessment;
- marker comment;
- category;
- example from your work;
- action for next time;
- evidence that the action was completed.
Categories might include argument, criticality, structure, evidence, methods, referencing, style and time management.
Over several assignments, patterns will appear. You may discover that “be more critical” actually refers to a recurring need to compare evidence quality, or that time pressure repeatedly weakens conclusions. The hub turns scattered comments into a development plan.
Step 9: Use a reliable naming and tagging system
A hub should be understandable without relying on perfect memory. Use titles that communicate content. Add the module code to source and lecture notes. Use a limited tag set.
For example:
- Module: PSY201
- Type: lecture, reading, synthesis, assessment, feedback
- Status: inbox, processed, unclear, revise
- Use: essay, exam, dissertation, placement
- Method: experiment, interview, systematic review
Review tags once a term and merge duplicates. The purpose is retrieval, not classification for its own sake.
Step 10: Establish a review rhythm
Your hub needs maintenance, but not constant attention.
After each class: 10 minutes
- add the lecture note;
- write the main idea in your own words;
- record one question;
- link one related concept.
Weekly: 30 to 45 minutes
- process the inbox;
- complete references;
- update topic hubs;
- create retrieval questions;
- check assessment links;
- back up the system.
Monthly: 30 minutes
- review difficult or foundational topics;
- revisit feedback actions;
- archive irrelevant clutter;
- check whether the structure still reflects your work.
End of module: 45 minutes
- create a module legacy summary;
- preserve core questions;
- link the module to future study;
- record methods and skills gained.
This rhythm supports self-regulated learning. A meta-analysis of self-regulated learning training programmes found improvements in academic performance, strategy use and motivation among university students. A knowledge hub provides a practical environment for planning, monitoring and adapting learning.
Step 11: Protect accessibility, privacy and continuity
Your hub should be available when you need it and protected when it contains personal or sensitive material.
- Use automatic cloud backup or another reliable backup process.
- Export important notes in common formats.
- Avoid storing confidential placement or research-participant data in an unsuitable consumer app.
- Use institutional guidance for data protection and research ethics.
- Choose tools that meet your accessibility needs.
- Do not rely on a university account that may close shortly after graduation without exporting your work.
A long-term knowledge hub should survive changes of device, software and institution.
Step 12: Use AI inside clear boundaries
AI can reduce the administrative burden of a large hub. It can search across materials, suggest related topics, create a first set of questions and help identify where a claim appears. The risk is that generated text may lose context or introduce unsupported statements.
Use AI for navigation and transformation, then verify against the source. Ask it to show the relevant lecture, PDF page or note. Keep your own synthesis separate from generated text.
LRND.Ai is designed as a source-grounded knowledge and learning environment. Students can bring together lectures, PDFs, recordings and notes, search across them and generate revision resources while retaining access to the underlying content. This supports the hub model: one organised environment that helps students find, connect and actively learn from their materials.
What success looks like
A successful university knowledge hub does not contain every file. It makes the right knowledge easier to reach and use. You should be able to:
- open a module and understand its structure quickly;
- find the source behind a claim;
- see how an idea connects to another module;
- identify what you do not understand;
- retrieve core knowledge without reading everything again;
- reuse evidence and feedback in new work;
- preserve valuable learning after assessment.
Start with your current module, not your entire academic history. Build the home page, create one module dashboard, process one lecture and one reading, then use the hub to complete a real task. The system will develop through use.
A personal knowledge hub gives continuity to university learning. It turns lectures, readings and assignments from temporary events into a growing resource. More importantly, it helps the student remain the owner of that knowledge long after the module page closes.
Bring your learning materials into one organised, source-grounded space with LRND.Ai.